Fujifilm X100F Review

DSCF1510

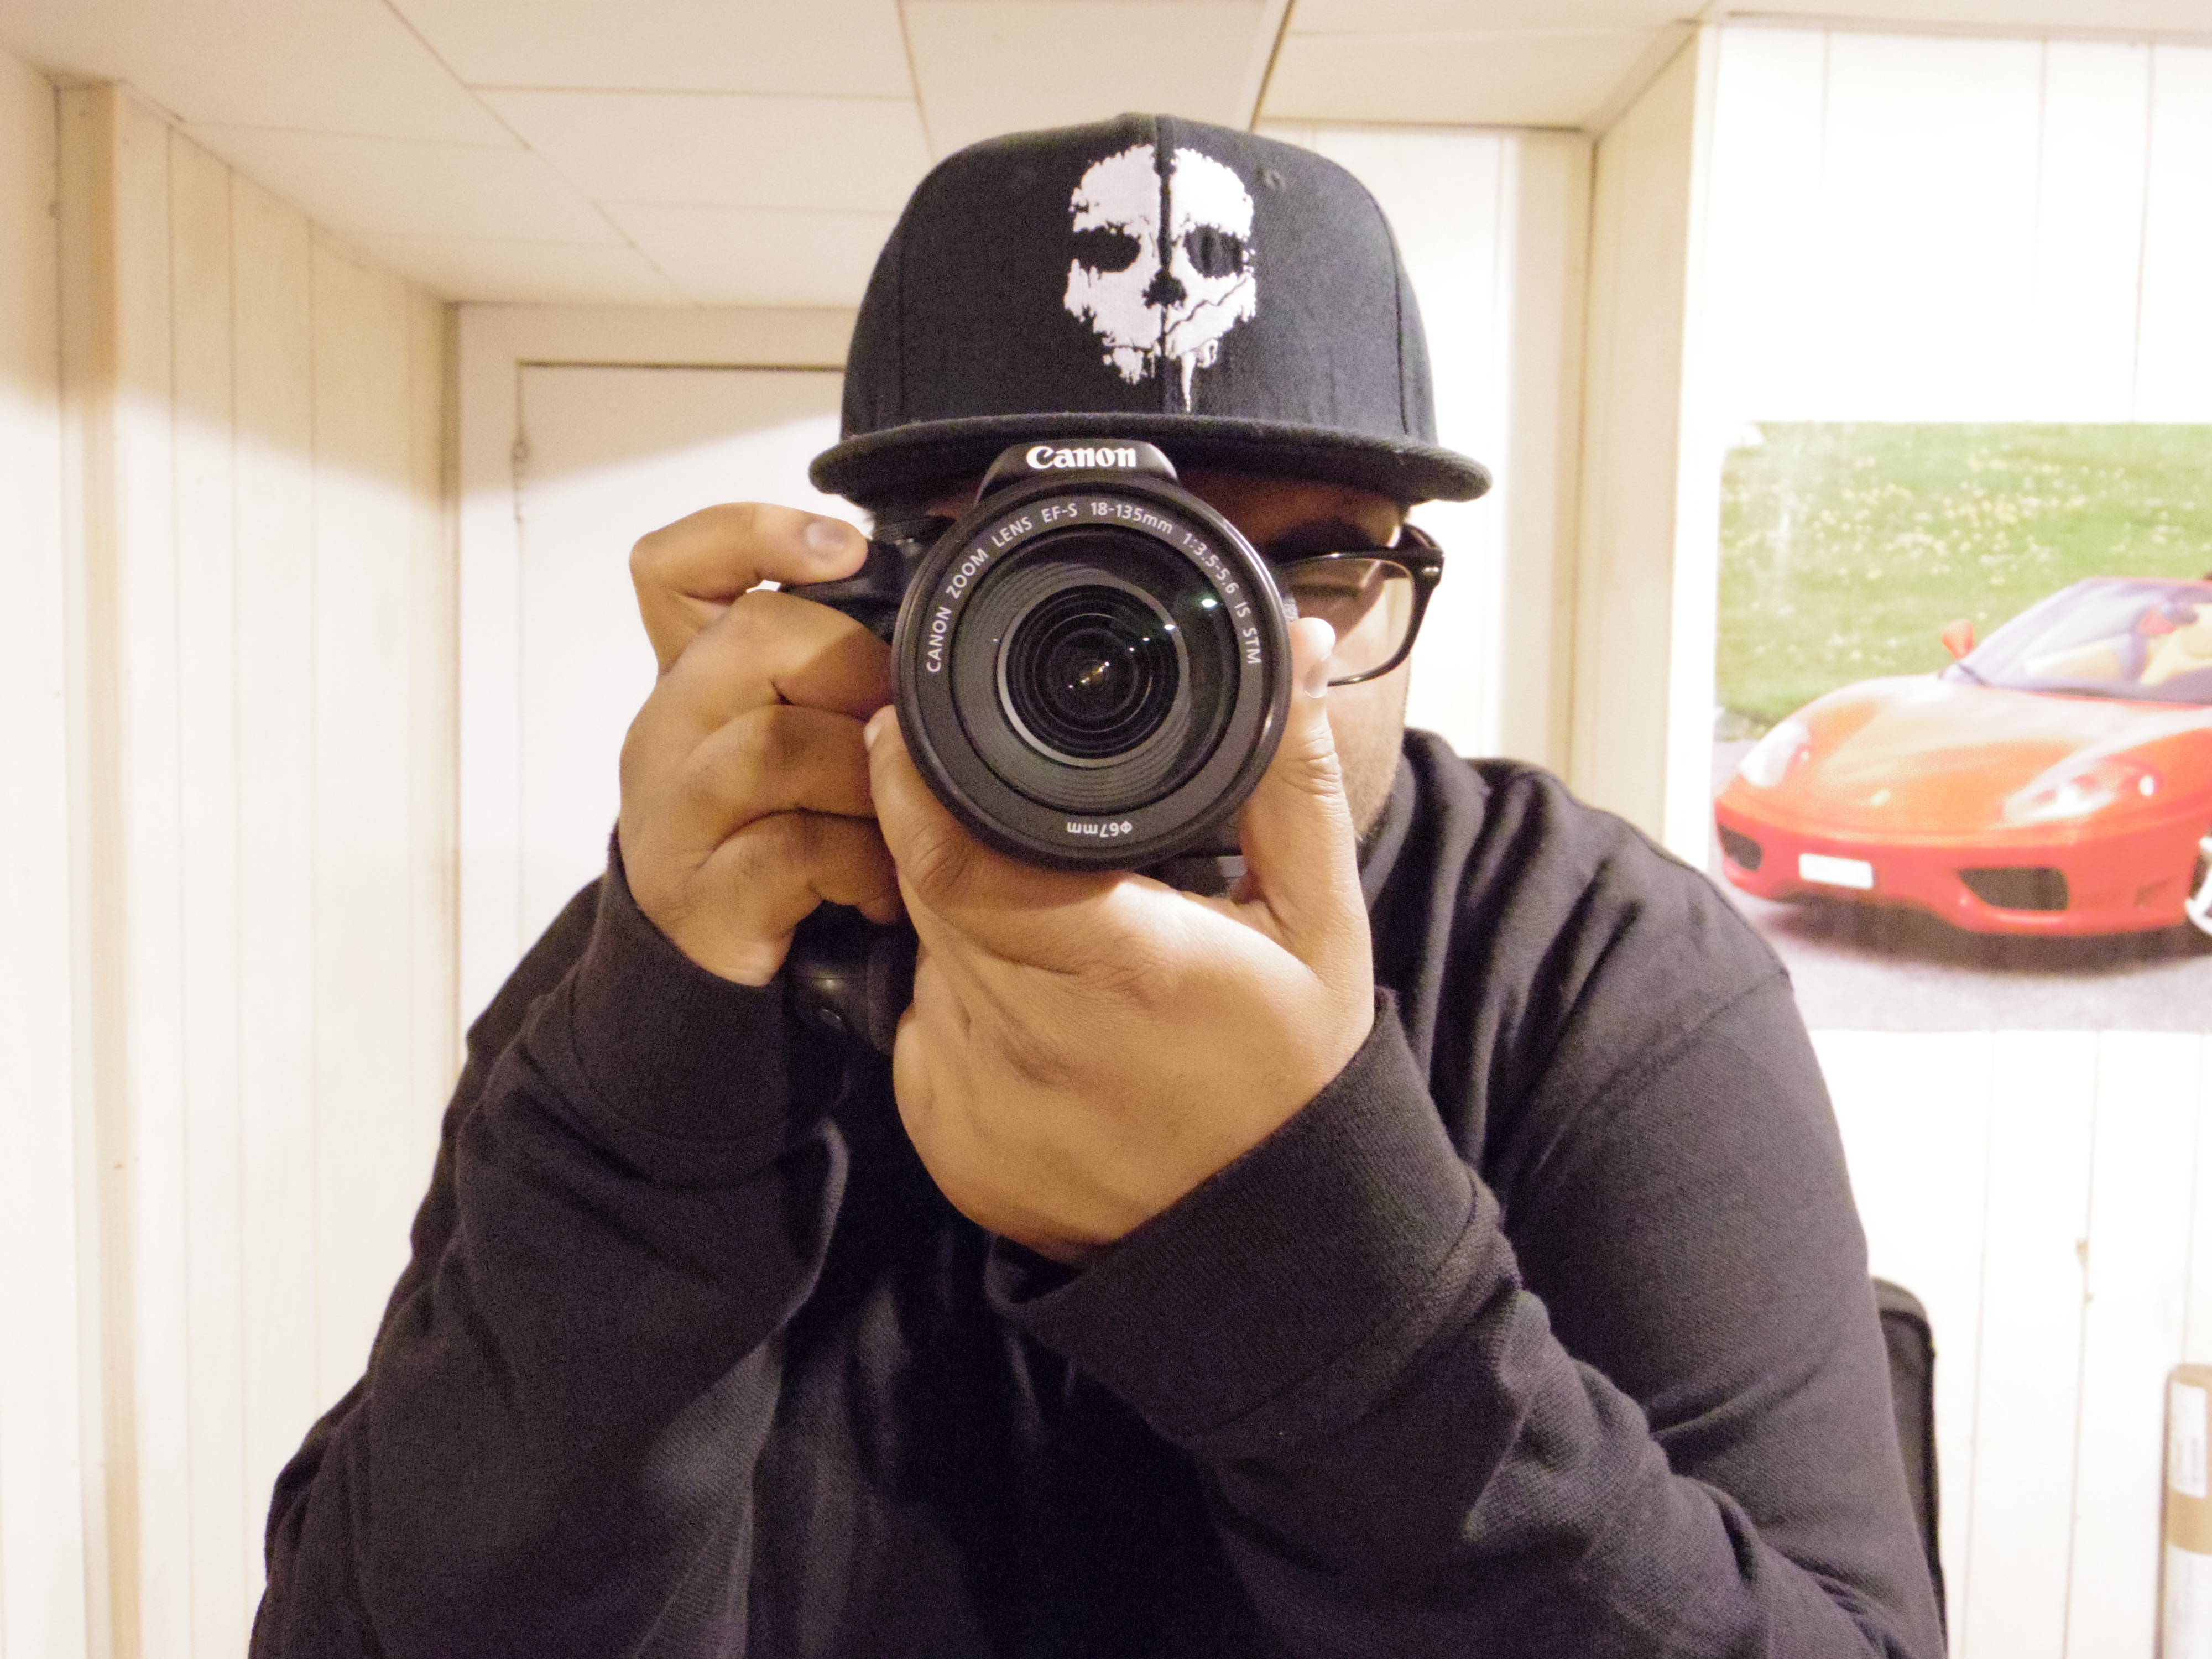
I have been playing with my copy of the Fuji X100F since its release on Feb,23,2017. This is the first Fuji camera I’ve owned but not the first one I’ve tried. Fujifilm’s philosophy is something I appreciate and can get behind. Good well-honed products with vintage style and old-school sense. Clean and well thought out with improvements with each new version. Now all that being said these improvements will cost you a really pretty penny. Maybe even 2. I need to say this first, I like the X100F. It’s my daily driver and my go-to camera for my Instagram accounts. I’m going to keep it and I would probably even upgrade to the next model whenever that comes out if the competition doesn’t do anything better. Which I doubt they will since Fuji has this part of the market locked down.

DSCF0618

I just want to get that all out of the way before I say I think it costs too much for most people. I consistently use 3 systems at the moment. Sony a6000, Olympus EM5MKII, and the new Fuji X100F. With all these, I think the X100F is debatably the worst camera in many ways. I would recommend the Sony and the Olympus here over the Fuji with ease. Is the Fuji the most expensive camera here? Yes. It’s as expensive as the Olympus with a 35mm equivalent lens. Maybe even a bit more expensive and it’s easily 2 times the price of the Sony. When it comes to specs and features the Sony clearly loses but hell its half the price. Besides the a6000’s big brothers the a6300 and a6500 are both feature rich and they come in competitively priced vs the X100F. The X100F isn’t even that much more compact than the Olympus and it’s both larger and heavier than the Sony.

DSCF0641

So why? Why would anyone go with the Fuji X100F? For me, it’s not about the specs. I understand how light works, I know how to shoot and I know how to edit in post. If I could get away with it I could do a quality shot on my iPhone. What I’m trying to say is on paper it can be clear what going this way and that. The thing I like about the X100F is its character. It’s spunk. It’s got a little jazz in its soul and a hint of swing in its step. I would say that’s all the stuff you can’t put a price on but Fuji clearly did. Everything on its own with the X100F doesn’t sell it for me. It’s all of it together and in my hands that does it. The X100F can party, I can hang out with the X100F any day and have a good time. A lot of the other cameras now days are just a bit standoffish. It’s all kind of skin deep, no personality. The X100F’s all personality. For work, there’s an endless list of cameras I can name which are better. For play and everything else, my X100F is at the top followed closely behind by my EM5MKII.

DSCF1432

So do I like the Fuji X100F? No, I love it. Do I recommend the Fuji X100F? Well…no, not to most people. You really need to know what you want and know what you’re investing in here. All that “character” can be a little much for a lot of people. There are other very comparable cameras with a good bit of character who will get the job done. If regardless of this you still insist on the Fuji X100F you are going to have a good time. If you are a traveler or street photographer you are going to have an even better time.

DSCF0803

I hope everyone enjoyed my review on the X100F. I know it’s not your standard review but there’s an endless amount of those all saying the same things. I thought I should just be straight with you all and not do the go to upright stern voice review. If you liked this please follow the links down below for more.

DarksterMedia.com

Instagram — @DarksterMedia/@Darkster

Medium – DarksterMedia

35mm vs 50mm Photography Comparison

OLYMPUS DIGITAL CAMERA

Shot on the OM-D E-M5 Mark II with the Olympus 17mm f1.8 edited in Lightroom

If you are reading this you are most likely one of a few people, the first being someone looking for their first lens. Another being someone who has either a 35mm or a 50mm and wanted to see what its like to be on the other side. Maybe you are looking for a single prime to take on vacation. Lastly and most likely you might just be one of those gross creepy street photographers like myself. Whoever you might be, I hope I can help you out a little here.

OLYMPUS DIGITAL CAMERA

Shot on the OM-D E-M5 Mark II with the Panasonic Lumix 25mm f1.8 edited in Lightroom

I am a former exclusive member of team 50mm. I still love the focal length and it is still probably my favorite overall focal length. That being said the 35mm focal length is damn good too. I was never really a fan till now where I forced myself to get it and use it. I herd up until this point from other street photographers and other photographers in general about how great the 35mm focal length is. How it’s the perfect all-around focal length and how its great for traveling. If there was anyone lens to do it all it should be the 35mm. I believed it, I just never got the chance. I felt the 50mm was pretty much the same thing but I was able to get more shallow depth of field with the tradeoff of not having as wide a shot. Truly that is what the 50mm is and it is great for that. That is part of why it is considered “Standard”. The 35mm, on the other hand, comes off as much more “normal”. (See what I did there? No? Don’t worry about it.) A better way I would put it is that the 35mm comes off a lot more natural. I feel it covers more ground. Gives you more options including a little bokeh.

OLYMPUS DIGITAL CAMERA

Shot on the OM-D E-M5 Mark II with the Olympus 17mm f1.8 edited in Lightroom

So which is better? Well, I say both. I’m sure thats not what you want to hear so ill go into detail. The 35mm is a swiss army knife, a jack of all trades. It does it all and it does it well. The 50mm, on the other hand, can be a little fancy. It just makes the subject look nice. You cant go as wide sure but on the other hand, you don’t have to go as close to the subject. It’s just at the curve where portrait lenses start so it can double as a portrait lens too. Sure the 35mm can do most of this but you can really make some models uncomfortable with how close you need to get.

OLYMPUS DIGITAL CAMERA

Shot on the OM-D E-M5 Mark II with the Panasonic Lumix 25mm f1.8 edited in Lightroom

Let’s look at it this way. The 35mm is a grey suit and the 50mm is a black suit. This might be going over a lot of heads now since I’m going into fashion territory here but it is openly considered a grey or charcoal suit is much more versatile to wear than a black one. You can mix and match with a grey suit a lot easier than you can with a black one. You can wear a grey (charcoal) suit to a funeral or to a party and not look out of place. All that being said, damn does a black suit just look good. Not as versatile, no. The question is does it need to be? It just looks so good that who cares? So which suit should you buy? For travel get yourself the 35mm grey suit. It will do everything you need it to do and it will do it well. For your first lens? Either one works here. If you plan to take more portraits and such the 50mm black suit. Maybe more into landscapes? Then go with the 35mm grey suit. If you have a 35mm grey suit and you are looking at that 50mm black suit don’t worry you are not missing out. Same goes the other way around. That being said I think all men should have a black suit and a grey suit. To my street photographers. Same deal. You can go either way and be happy but again I think all men should have a black suit and a grey suit.

Twitter – @DarksterMedia

Instagram – @DarksterMedia/@Darkster

OM-D E-M5 Mark II Review

Olympus 17mm 1.8 Lens Review

Olympus 17mm 1.8 Lens Review

OLYMPUS DIGITAL CAMERA

Shot on the OM-D E-M5 Mark II with the 35mm f2.8 Canon FD Lens using High Res Shot UnEdited

I got this lens quite last minute before my trip to Cuba. Actually, I got it about an hour before leaving for the airport. Before this, I had the Olympus 25mm 1.8 lens that I got with my OM-D E-M5 Mark II a few days earlier. I love the 50mm focal length but I just didn’t like the build and the continuous wire focus ring on the 25mm. I also felt it overall lacked in the build for its price. The image quality was great and the autofocus was on point, but I like to have the option for solid manual focus and I want a solid build. So last minute I went and returned the 25mm for the 17mm and I’m very happy about it.

OLYMPUS DIGITAL CAMERA

Shot on the OM-D E-M5 Mark II with the 17mm f1.8 edited in Lightroom

The 35mm (actually 34mm with this lens but close enough) focal length you get with the 17mm Olympus is quite something. I was a bit skeptical before this about it since I’m overall on team 50mm. Since using the 35mm I have to say I find myself playing on both teams now. It gives crips solid shots at about 4.0 and up and you can also get some beautiful bokeh in if you stop it down a bit. You should see some samples here and linked below is my Instagram where you should be able to see more. The focus ring is great too, if you pull back on it, it will lock into place and switch to manual focus. It’s not actually manual focus, its still focus by wire. It just simulates old-school manual focus and it does it extremely well. You won’t have the same speed you would with pulling the focus ring around like you would with say a vintage lens but it’s pretty close and it’s as good as it will ever get for focus by wire.

IMG_1706

Shot on the iPhone 6s Plus

The overall build is perfect. Small, solid metal/quality plastic construction all around. It felt heavier than the larger 25mm I had before, if not denser. I was never worried about breaking it in use and when I would bump it into things it seemed to bump back just as hard. I’ll be honest I hate using neck straps and rarely do but it was simply too hot in Cuba for me to carry my backpack around which means my Peak Design Capture Clip couldn’t be used. If you read/heard my review on the OM-D E-M5 Mark II you would understand I didn’t overall like the grip even though I’m used to it now. So I had to use a strap and let me tell you did my camera and lens take a beating. I would get up from tables and the lens and camera go smashing nose first into the edge of the table. They would both shrug it off like it was nothing. I expect this kind of solidarity coming from the OM-D E-M5 Mark II which was built for it but not the lens. Simply put I was impressed at how well it can take a beating.

OLYMPUS DIGITAL CAMERA

Shot on the OM-D E-M5 Mark II with the 17mm f1.8

In conclusion, I would say it was worth every penny. When I got it I thought I would return it if I didn’t like it. (Same with the OM-D E-M5 Mark II) In the end, I couldn’t let either of them go. The only thing that would make this lens perfect in my eyes as if it had weather sealing. Can’t have it all I guess. If you are looking at this lens I highly recommend it and if you are thinking about this vs his brother the 25mm, I still highly recommend this over that. Now that’s not a 35mm vs 50mm thing that this particular 17mm vs that particular 25mm thing. If you want to see my comparison and thoughts on the 35mm focal length vs the 50mm focal length check the links below. I can’t say more good things about this lens from a general use standpoint and a street photographer standpoint.

Twitter – @DarksterMedia

Instagram – @DarksterMedia/@Darkster

OM-D E-M5 Mark II Review

College Street Bar Hopping Review

Sneaky Dee’s

Sneaky Dee’s is a place me and my friends frequent when we go down to drink on College street. Its usually the bar we end on but we decided to start on it this time because we had a huge craving for Buzz Amber. Buzz Amber is my team’s favorite all-around beer of choice. I secretly still prefer Guinness overall but Buzz Amber is a tie or very close second. We discovered Buzz Amber at Sneaky Dee’s the first time we went drinking on College street. It was the last bar of the night that time and we just asked for something cheap and left it up to the waiter. The moment we tried it we loved it. It’s a very smooth dark beer. Very easy to drink and not notice how drunk you are getting. If any of you are ever at Sneaky Dee’s I highly recommend trying it.

DSC02166 DSC02167 DSC02170 DSC02175 DSC02183 DSC02187 DSC02193

Mullins

This was the first time we went to Mullins. My friend saw it on the way when were meeting up. We decided to give it a try after Sneaky Dee’s and we loved it. It wasn’t busy and there wasn’t any loud annoying music playing. The whole side of the place was one big window they left open. It was nice having the breeze flow into the bar. The people working there were also very nice. We asked them for what they would recommend as the drink of choice to represent the Mullen. They brought us 2 pints of Guinness. I cant complain. My favorite beer at a really nice comfy open window bar. Will visit again for sure.

DSC02214DSC02201DSC02206

Touche

I’m more of a whiskey, vodka, beer kind of a guy so things like martinis throw me off a bit. But we were trying new things and said what the hell it looks nice so let’s give it a try. We quickly noticed how “dated” the place was which made me and my friend laugh at the situation. We got our seats and went up to the bar and I asked for something that looks good in a picture but isn’t a girl drink. The bartender laughed and thought for a second. She told us that would be a “Caipirinha” which is a Brazilian drink. I and my friend agreed after drinking it that it’s simply an alcoholic lemonade. We liked it but the overall place wasn’t our style. If you are looking for a place to take a date but want to be on the fancy side or you’re a fan of martinis I recommend Touche. If you are not one of these than I would say keep looking.

DSC02229DSC02223DSC02219

Ryoji 

So we are walking and at this point, you have to understand we are pretty drunk. We see Ryoji across the street and decide we should go over. We get inside and see how nice the place is. I mean its very pretty and out of all the places we went to it has the best lighting. As you can probably tell from looking at the pictures. We asked the waiters what they would recommend and they both said different drinks. We said we will get one of each and try it. Now again we were drunk so we forgot to get the names of the drinks written down but we both agreed we liked the drink in the shorter glass more. It had this slightly grassy taste that went down very smooth. The other one was more of a sweet and sour flavor. We didn’t hate it but we wouldn’t order that drink again. Overall great place. We plan to go back there to try the food next time.

DSC02308DSC02259 DSC02269 DSC02275 DSC02294

Smokes Poutinerie

Remember how before when we crossed the street to get to Ryoji. Well, we are even drunker now and we are stupid in general. We had completely forgotten we crossed the street. So we continue down the street and start seeing stores we are sure we passed on the opposite side of the street. Now again let me remind you we are very drunk now and also very stupid. We start to talk about how its such a dumb idea to double up the same store on the same street. We go on about how bad of a business idea that is. on the second store we saw that doubled up I got suspicious. One store on the same street doubling up, ok. Two stores on the same street? No somethings not right here. It wasn’t until we hit the 4th store I realized we are walking backward on the opposite side of the street. We walked for a solid 8 to 10 minutes in the wrong direction before I realized we went the wrong way. We couldn’t stop laughing at how dumb the situation was and then had to speed walk all the way to Smokes. -_-

Now that all that’s^ out of the way. Let’s talk about Smokes Poutinerie. What can I say? It’s the best poutine in the city if you ask me. My friends would agree with that statement. What you see photographed down below is the triple pork poutine. Just writing about it now is making me salivate. I think if I was able to without getting fat I would eat this every day. I mean just look at it. Do I need to say anymore? Do yourself a favor and get some poutine at Smokes Poutinerie. Unless you’re a vegetarian. I mean they do have vegetarian options but meh. It’s just not the same.

DSC02316 DSC02325 DSC02329 DSC02336

Track & Field

I’m going to say right off the bat this place is not my style. Music too loud, drinks were on the more expensive side. The crowd was very young and hipster. I just wasn’t able to feel comfortable there and relax. I felt like I stood out like a sore thumb. That being said. If you are a fan of the whole hipster type stuff than you would like this place. Also if you’re a single guy between 20 and 25 it’s a good place to go since it was filled with girls. Again not my scene but it is someone’s scene. Everyone there seemed to be having a good time. My friend overall didn’t mind it but he really liked the music. The DJ was playing a lot of pretty cool old school music. As a DJ myself I can’t be too impressed about downloading a best of 80s track list and playing it. The good music alone doesn’t validate the place for me. Your results may vary. Oh and we forgot to write the name of the drink we got here as well. It was alright…I wish I can say more but I was pretty drunk by this point and it wasn’t that memorable of a drink, to begin with.

DSC02398DSC02354 DSC02369 DSC02376 DSC02382

The Emmet Ray 

We were so drunk by this point I couldn’t function as a photographer. Hence why I don’t have many good pictures of the Emmet Ray here. I was so drunk I knocked my glass of whiskey over on the table and didn’t want it going to waste so I drank it off the table. >:P Yea I was pretty drunk. My beard smelled like Glenfarclas 12yrs for the rest of the night. That being said the Emmet Ray is one of if not my favorite bar on College Street. The live jazz band always playing quality jazz at the back of the place alone is worth a visit. The whiskey selection is simply amazing. Over 230 different kinds of whiskey. If you are a fan of whiskey this is a place you got to go to.

DSC02482DSC02429

Back to Sneaky Dee’s

After whiskey at the Emmet Ray, we decided we had to go back to Sneaky Dee’s for one last round of Buzz Amber to close off the night. We did just that. All in all, it was a great night. Would do this again for sure.

DSC02452 DSC02463 DSC02469 DSC02476

All shots were taken by me using a Sony a6000 with a 35mm Canon FD vintage lens. Lastly a special thanks to my friend Arash for coming along and helping me drink.

DMA133DA – Self Stencil (Skateboard Assignment)

I ended up dropping the whole Charizard skateboard idea because of this whole copyrights infringement thing. Who would have thought its illegal to steal other peoples work? so to keep it safe I decided I’ll just use a self-portrait. Only I own me.

In class, we saw this video about graffiti and these little dot lights things that got really popular with street artists. I was somewhat inspired to have a go at graffiti myself after watching this. I wanted to incorporate a camera into it in some way since the photo video side is what I like the most when it comes to the DMA course. I looked around for photographer, cameraman, camera stencils and couldn’t find anything I liked. So I made my own. Here is a link to the tutorial I used to help me get started.

Tutorial on turning an image into a stencil using photoshop – https://www.youtube.com/watch?v=uFjaMVnGzGA

IMGP2909

I started with taking the self-portrait. Used a tripod and 2 cameras. One camera to hold and 1 camera to take the picture. It took a few tries to get it how I wanted. The camera I’m holding is the Canon T5i with a battery grip and an 18-135 lens. The camera that took the picture is the Pentax Q7 with the 02 Standard Zoom 5-15 lens. The Q7 was set to auto and a 12-second timer.  I also wore black because I didn’t want any extra detail once it got to the final image after editing. This is also my first time doing this and I didn’t want any random situations happening because of what I was wearing.

screen 1

To get that solid black and white look all you need to do is throw your picture on Photoshop and go to (Image – Adjustments – Threshold) You can then tweak the level of intensity after you click into that. You can see that bellow.

screen 2

I had it set to around 116 but if I was going to do it again I would drop it to around 96. I found myself taking out allot I wouldn’t have needed to bother with if I had gone with a lower threshold from the beginning. If I had to give one point of advice that would help you in doing this I would say the more solid and fuzzy the better. That being said again this is my first time doing this so that could be completely wrong. Your results may vary.

self stencil

Here is the finished product. It took me about an hour and a half but if I was to do this again, in general, I think I can get it done in under 45 minutes. One thing to remember is to add bridges that somehow lead out to the white. The reason for this is because you will be cutting out all the black you want the spray paint to be on. If you cut out any black that has white you want in the finished product then you messed up. I don’t know if I did it right here but it looks as close as I can tell. I really won’t know till I start cutting or applying paint. I might just skip the whole graffiti part and mess around with some saturation’s and some images to get the skateboard project done. I’ll see how time and the end result comes out and decide from there. Hope this helped and thanks to marcusthorpe for the tutorial.